How to fit bathroom wall panels help, Home skilled craftsman advice, House tips, Property guide
How to Fit Bathroom Wall Panels
17 Sep 2020
When you look at hotel bathrooms, you might think that the designer had the abilities of a skilled craftsman. Do you know that you can design your bathroom to the same high standard too?!
Wall panels have simplified designing work by easing the installation process. You no longer must enlist the services of a tile installation specialist to install wall panels in your bathroom. You can do it all by yourself by following this detailed guide.
How to Fit Bathroom Wall Panels Help Guide
Read on to learn how to fit bathroom wall panels:
What is a Wall Panel?
A wall panel is a flat material, normally rectangular-shaped, that serves as a decorative and protective covering for bathroom walls.
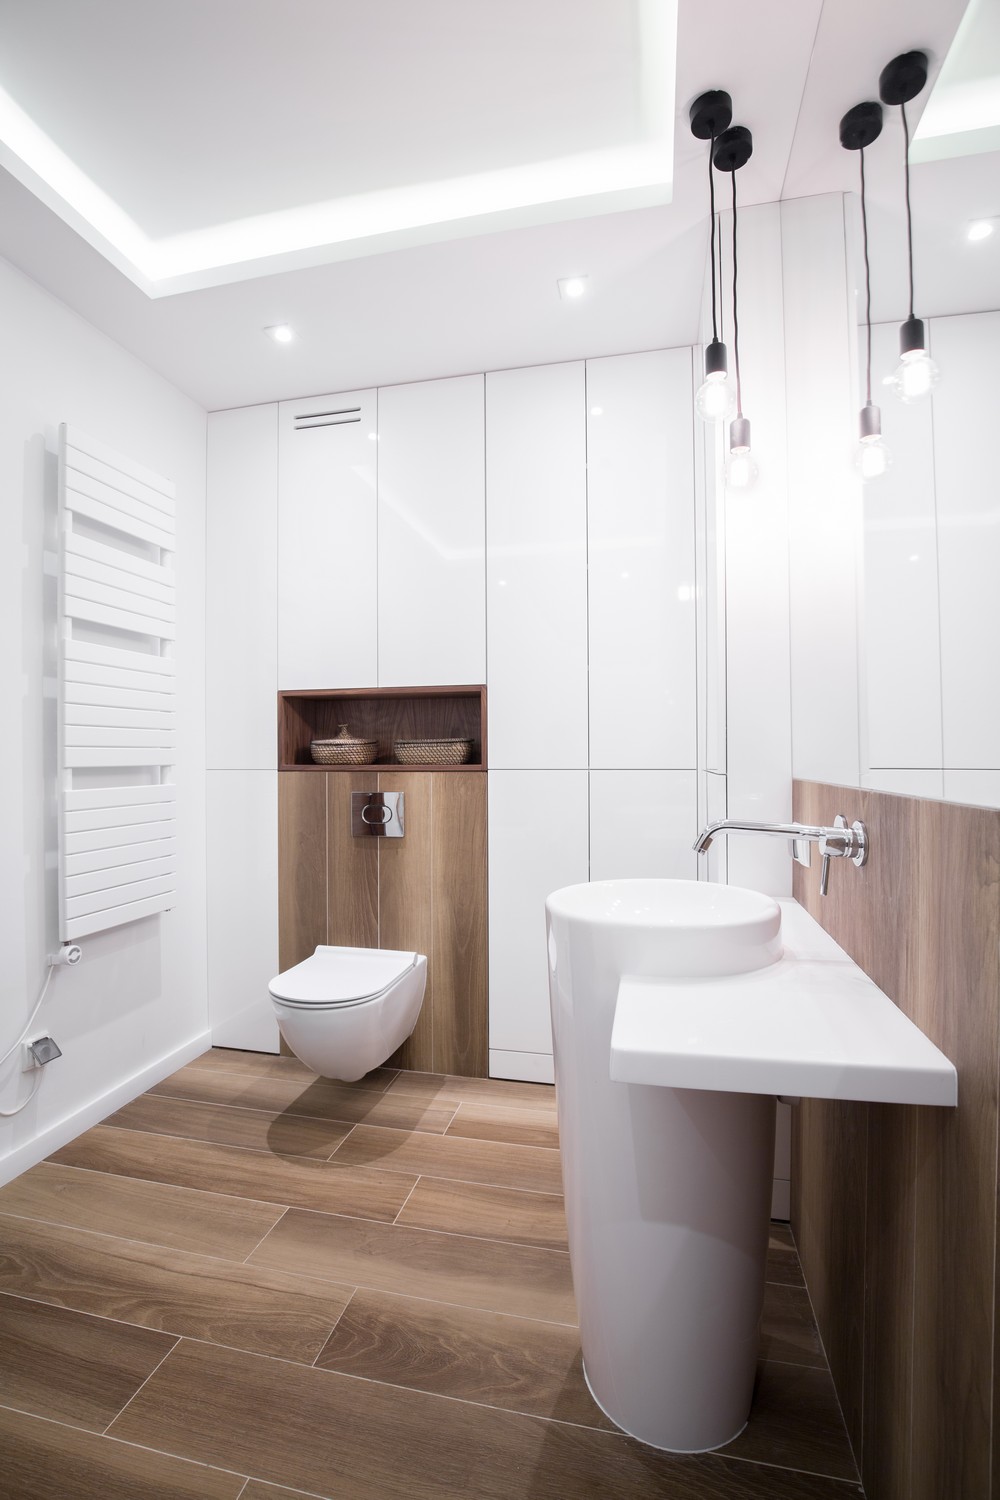
Wall panels are made of either acrylic stone or MDF sheets, which are both durable materials. They have an easy to maintain non-porous laminate covering that withstands colour loss and prevents mould build-up.
Why Install Wall Panels Rather Than Tiles
Bathroom wall panels are better alternatives to tiles because they are:
- Economical – a square meter of a wall panel costs less compared to a tile of similar size
- Moisture resistant – you do not need to grout a wall panel to prevent water passage or dirt accumulation
- Easy to Install – wall panels are light hence are easy to cut and install
- Installable on a tiled wall or any other existing wall covering
- Available in many elegant designs options
The tools required to install a wall panel are:
- Sandpaper
- Caulking gun
- Tape measure
- Fine tooth or electric saw
- Protective goggles
- Foam tape
- Silicone sealant
- Tile spacers
- Blade
Installation process
The guide spelt out below will help you install wall panels accurately, safely and quickly in your bathroom.
- Measure Your Bathroom Wall
Using a tape measure, measure your entire bathroom wall to determine the required wall panel length.
- Pick a Wall Panel Design
Choosing a suitable wall panel depends on your preferences in colour and design. You can pick the colours or designs that aesthetically complement your toiletries, towels or shower supplies.
- Measure the Fitting Area
Once you have acquired the wall panels, measure both vertically and horizontally, the first fitting area, which in most cases, should be by the bathroom corner.
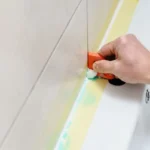
- Cut the Wall Panel
Place the panel horizontally, on a supporting tool with the front side up. Wear your protective goggles and mark the fitting area measurements on the wall panel with a pencil. Lay the masking tape on where you should cut, then using an electric or fine tooth saw, cut the panel as per your measurement.
- Smoothen the Wall Panel
Smoothen the cut edges with sandpaper while removing any remaining debris. Flip the wall panel over and slightly smoothen the back to enable the sealant to adhere effortlessly, hence forming a strong bond.
- Place A Corner Piece on the Wall
You can glue, screw or staple the corner piece to the wall. Apply silicone sealant on the wall then attach the corner piece. In the case of screwing or stapling, you should place the corner piece first then staple or screw. Attach tile spacers underneath to ease adhering with the sealant later.
- Apply Sealant on the Wall Panel
While still flipped, lay three layers of foam tape on the wall panel. Apply sealant by beginning with a thin line on the length ends, then in zigzag or large circles all over. Ensure it spreads evenly. Apply it as well on the edges of the wall panel and inside the end trim piece.
- Place Wall Panel on the Wall
Begin by placing the end trim piece on the wall, opposite the corner piece as per your measurements. Apply sealant inside the corner piece, and on the edges of the panel. Strip off the back layer of the foam tape. Lift the wall panel and gently slide it at an angle into the fitting area.
- Attach to The Wall
Once the wall panel is in position, press it against the wall with your hands to adhere the sealant to the wall. You can apply it underneath the wall panel, and on the corner piece and end trim piece for better attachment. However, begin by laying masking tape then remove afterward.
- Repeat Process
Repeat the process as described when installing other wall panels. Finish the installation by sliding the silicone-finishing tool along the panel grooves. You can cut out socket or switch holes in a wall panel by using a sharp blade. Measure the length of the socket, mark with a pencil, then cut as per the measurements. After panel installation, screw the sockets where necessary without overtightening.
This installation guide is standard and might vary slightly among different panel brands. Wall panels come with fitting instructions. It is advisable to read them before installing them. You can compare them with this guide and make the few outlined alterations.
Comments on this How to Fit Bathroom Wall Panels advice article are welcome.
Bathroom Design
Property Bathrooms Posts
How to design a perfect bath space
Buildings
Building Design Articles – selection from e-architect:
Comments / photos for the How to Fit Bathroom Wall Panels Guide page welcome