Extend excavator lifespan guide, final drive maintenance and troubleshooting machinery, construction equipment
Extend Excavator Lifespan: Final Drive Maintenance & Troubleshooting
16 July 2025
Essential Final Drive Maintenance and Troubleshooting Tips
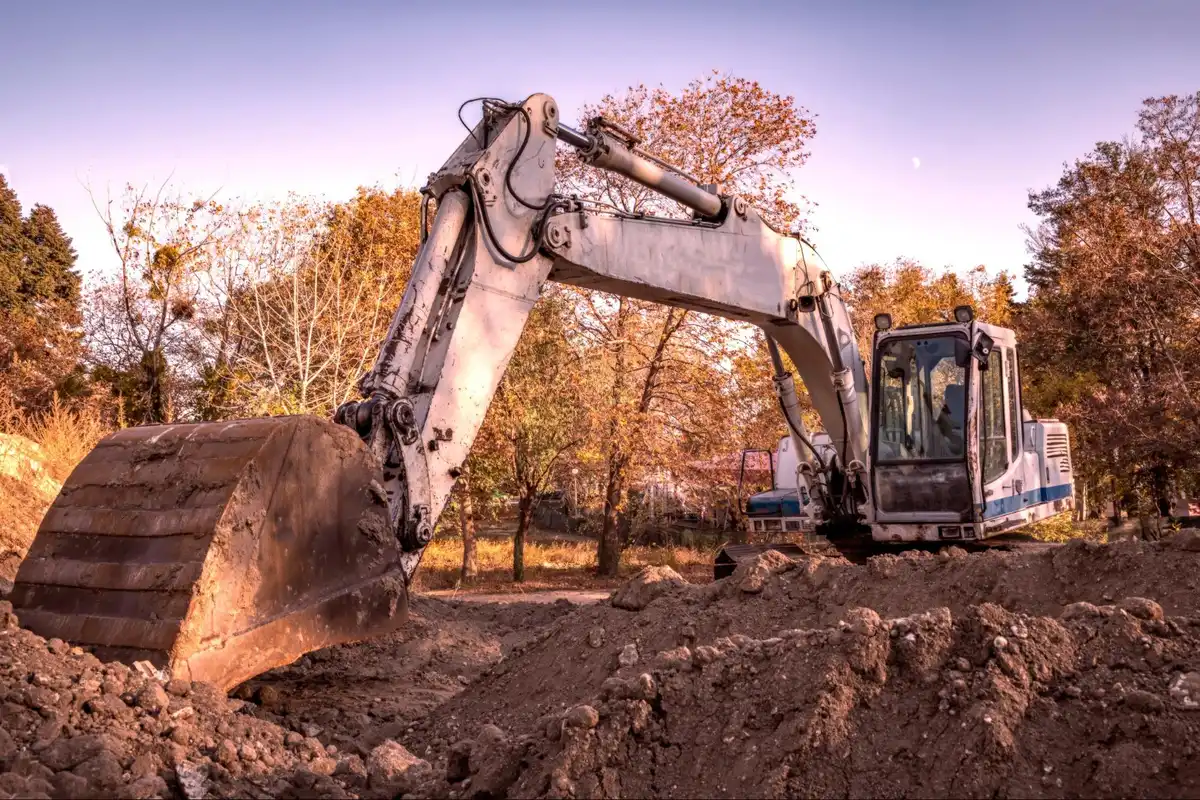
Your excavator’s final drive is crucial for its power and movement. Neglecting its health leads to costly downtime. However, with the right knowledge and regular maintenance, you can significantly extend your excavator’s lifespan and prevent many issues. This guide will cover proactive maintenance and excavator final drive troubleshooting tips. Learn to spot warning signs early, address them before they cause a failing final drive, and ensure your excavator maintains optimal performance and stays productive.
Understanding your excavator’s final drive
Before diving into maintenance, it’s important to understand what the final drive is and how it works. Think of it as the powerhouse that translates your excavator’s hydraulic energy into movement. It’s the last stop for power before it hits the tracks, making it indispensable for your machine’s mobility and digging capabilities. Try and select a Porter suitable for the specific excavation task.
What is a final drive?
At its core, the final drive is a sophisticated gear reduction system that connects your excavator’s hydraulic motor to its tracks. It takes the high-speed, low-torque output from the hydraulic motor and converts it into the high-torque, low-speed power needed to move heavy tracks, even under significant load. Without a properly functioning final drive, your excavator simply can’t move.
Key components
To perform its vital function, the final drive relies on several key components working in harmony. It typically consists of a multi-stage planetary gear set, which is where you’ll find the gears themselves. Over time, these worn out gears can cause problems, leading to reduced efficiency or even failure.
The hydraulic motor drives these gears, and the entire assembly is housed within a sturdy gearbox. Inside, you’ll also find essential bearings and seals. The bearings ensure smooth rotation of the gears and shafts, while the seals prevent precious gear oil and hydraulic fluid from leaking out and keep contaminants from getting in. Understanding these parts helps you pinpoint potential issues more quickly.
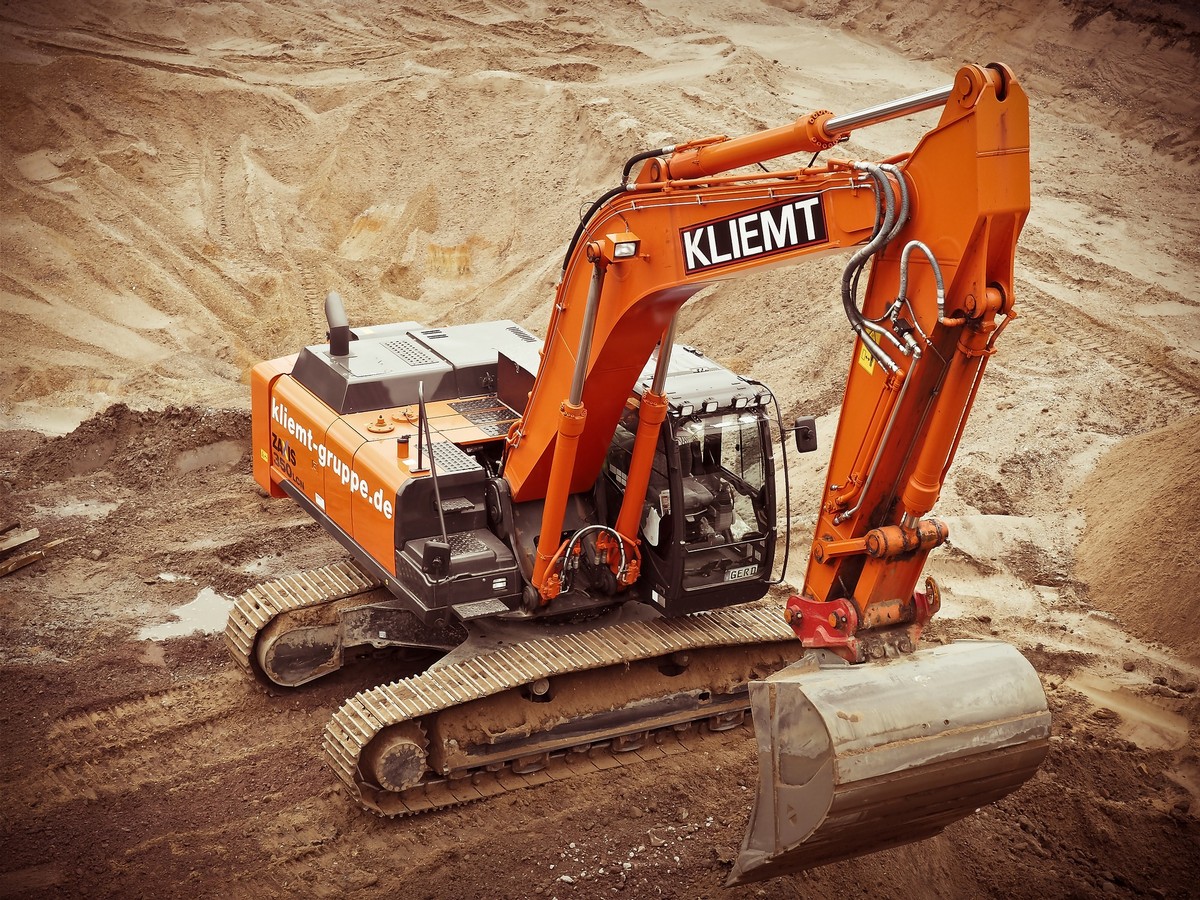
The cornerstone of longevity – essential final drive maintenance
Regular, proactive maintenance is not just a recommendation; it’s the bedrock of your excavator’s long and productive life. Focusing on your final drive with consistent care can prevent minor issues from snowballing into costly repairs and ensures your machine maintains its optimal performance. This section outlines the essential steps you need to take.
Regular gear oil checks and changes
The gear oil within your final drive is its lifeblood. It lubricates the intricate gears and bearings, reduces internal friction, and dissipates heat. Neglecting it is a surefire way to accelerate wear and lead to a failing final drive.
Checking gear oil level
Checking your gear oil level should be a routine part of your maintenance schedule. It’s recommended to check it after the first 50 hours on a new or rebuilt drive, then every 100-150 hours, and finally, settle into a routine of every 500-800 hours, or as specified in your excavator’s manual.
To check:
- Position your excavator on flat ground with the fill/drain plugs aligned horizontally (often one at 3 o’clock, one at 9 o’clock, and one at 12 o’clock). The correct oil level is typically when the oil is even with the middle plug.
- Clean the area around the plugs to prevent dirt from entering.
- Remove the top plug (for ventilation) and the middle plug.
- If oil drips out, your level is good. If not, carefully add the correct type of gear oil until it begins to trickle from the middle plug.
- Reinstall both plugs securely.
Always ensure there’s enough gear oil to prevent insufficient lubrication, which causes excessive wear on crucial final drive components.
Changing gear oil
Changing the gear oil is just as critical as checking its level. This typically needs to be done every 1000-2000 hours, or annually, depending on your operating conditions and manufacturer recommendations.
To change:
- Warm up the final drive slightly by running the excavator for a few minutes; this helps the oil drain better.
- Position the final drive so the lower drain plug is at the 6 o’clock position and the fill plug at 12 o’clock.
- Place a suitable container to catch the old oil.
- Carefully remove both the top (vent) and bottom (drain) plugs. Allow all the old gear oil to drain completely.
- Inspect the drained oil for metal particles. Significant metal shavings indicate worn out gears or worn out bearings, signaling potential internal damage and a need for further inspection to prevent further damage.
- Once drained, reinstall the bottom plug tightly.
- Fill the final drive with the manufacturer-specified type and amount of new gear oil through the top hole until it reaches the correct oil level.
- Reinstall the top plug securely.
Importance of clean gear oil
Contaminated gear oil is a silent killer for your final drive. Water, dirt, and metallic particles can act as abrasives, causing excessive wear on worn out bearings and worn out gears. This leads to increased internal friction, higher operating temperatures, and ultimately, significantly shortens the lifespan of your excavator’s final drive. Regular changes ensure proper functioning and protect your investment.
Monitoring hydraulic fluid and system
While gear oil lubricates the mechanical parts, hydraulic fluid powers the hydraulic motor that drives the final drive. A healthy hydraulic system is vital for the excavator’s performance.
Checking hydraulic fluid levels
Regularly check your excavator’s main hydraulic fluid reservoir. While not directly for the final drive’s internal gears, the hydraulic motor relies on clean, correctly leveled hydraulic fluid. Low hydraulic pressure or contaminated fluid can severely impact the motor’s ability to drive the tracks effectively, leading to slower movement or reduced power.
Inspecting for leaks
Conduct daily visual checks for any signs of oil leaks or hydraulic fluid leakage around the final drive casing, hydraulic hoses, and fittings. Even small oil leaks can quickly lead to insufficient lubrication and allow contaminants in.
Pay close attention to the seals around the sprocket and the input shaft. Addressing these promptly, often by replacing seals, is crucial to prevent more severe issues. A leaking final drive indicates a problem that needs immediate attention.
Hydraulic system health
Keep an eye on your excavator’s overall hydraulic system health. Issues like a weak charge pump or blockages can lead to low hydraulic pressure reaching the hydraulic motor, reducing the load capacity and causing the travel motor to struggle. Conversely, excessive pressure build-up can damage hydraulic components and seals.
Daily visual inspections
Quick visual checks before and after operation can catch early warning signs that prevent major breakdowns.
Checking for external damage
Walk around your excavator and inspect the excavator’s final drive units. Look for any visible cracks on the casing, dents, or signs of impact. Ensure all loose sprocket bolts are tightened. Also, check the track tension; extremely tight tracks can put excessive load on the drive motors, leading to premature wear.
Listening for unusual noises
When operating, pay close attention to any excessive noise coming from the final drive units. Grinding, whining, clicking, or clunking sounds can all be indicators of worn out parts like worn out bearings or worn out gears. Any excessive vibration felt through the cabin or tracks also warrants immediate investigation, as these are clear warning signs of a failing final drive. Ignoring these sounds will almost certainly lead to further damage and potentially a catastrophic failure.
Case drain line maintenance
The case drain line is a vital, often overlooked, component. This small line returns a small amount of bypass oil from the hydraulic motor back to the main hydraulic tank.
A blockage in this drain line, particularly in the case drain filter (if your model has one), can cause pressure build up within the hydraulic motor itself. This excessive pressure can blow out internal seals, leading to immediate hydraulic fluid leakage and severe internal damage to the hydraulic motor, often mimicking signs of a completely failed final drive. Regularly inspect this line for kinks or damage and ensure any associated filters are clean to prevent this kind of costly internal failure.
Decoding the warning signs – identifying a failing final drive
Even with diligent regular maintenance, components can wear out. Knowing the early warning signs of a failing final drive can prevent complete breakdowns and costly repairs. Pay close attention to how your excavator sounds, moves, and even smells.
Unusual noises and vibrations
New or louder sounds from the final drive are red flags. Grinding or scraping often signals worn out gears or bearings due to insufficient lubrication. A whining or whirring sound can point to hydraulic motor issues or hydraulic pressure problems. Clicking or clunking suggests loose or severely worn out gears, potentially leading to a broken motor shaft. Any excessive noise or excessive vibration indicates internal damage and needs immediate investigation to prevent further damage or catastrophic failure.
Leaks and fluid loss
Fluid leaks are common and visible warning signs. Visible oil leaks or drips of gear oil or hydraulic fluid around the final drive usually mean damaged or faulty seals. A noticeable drop in gear oil level or hydraulic fluid without a visible leak could indicate internal seal failure. If your gear oil appears milky, foamy, or contains metal particles, it’s contaminated oil due to compromised seals or poor maintenance, accelerating wear and leading to final drive failure.
Performance degradation
A healthy final drive ensures smooth and powerful operation. Any noticeable drop in your excavator’s mobility or strength can signal an issue. Slower movement, especially when turning, may indicate a final drive motor problem or low hydraulic pressure. Reduced power/torque, like struggling on inclines, suggests issues with worn out parts or the hydraulic motor. If one track is slower than the other, it points to a problem isolated to that specific excavator final drive, possibly due to faulty components.
Overheating
Excessive heat is detrimental. If the final drive casing feels unusually hot or you smell burning, it signals overheating. This often points to insufficient lubrication, internal friction from worn out bearings or worn out gears, or a problem with the cooling system. Overheating rapidly degrades seals and lubricants, causing further damage to internal final drive components.
Metal shavings in oil
This is the most serious warning sign. Finding metallic particles in your gear oil means internal components like worn out gears, worn out bearings, or even the broken motor shaft are disintegrating. This is a critical indicator of excessive wear and suggests the final drive is on the brink of catastrophic failure. Immediate action, likely a complete overhaul or replacement, is required to prevent wider damage to your excavator’s performance.
Troubleshooting common final drive problems – a step-by-step guide
Even with diligent maintenance, issues can arise. Knowing how to troubleshoot common final drive problems can help you diagnose and often resolve issues before they escalate, saving time and preventing more significant damage.
Addressing oil leaks
Oil leaks require immediate attention to prevent insufficient lubrication.
✔️ Identify the source: Visually inspect the final drive for leaks around seals (input shaft, sprocket), the gearbox cover, plugs, and the case drain line.
✔️ Clean and tighten: Clean the area, then check and tighten all bolts and fittings.
✔️ Replace seals: If leaks persist, replacing seals is likely necessary. This can be complex, so consider professional help.
✔️ Check pressure: Persistent leaks might indicate excessive pressure or a clogged drain line or case drain filter.
Diagnosing noise and vibration issues
Unusual noises and excessive vibration point to internal wear.
✔️ Listen carefully: Pinpoint the excessive noise (grinding, whine, clunk) to identify potential causes like worn out gears or worn out bearings.
✔️ Check gear oil: Drain a sample for metal particles or milky appearance, indicating contaminated gear oil and severe excessive wear.
✔️ Inspect internals: If metal is present or noise severe, disassembly is needed to inspect worn out bearings and worn out gears, often leading to a complete overhaul for worn out parts.
✔️ Sprocket bolts: Check for loose sprocket bolts causing noise.
Restoring lost power
If your excavator experiences slower movement or power loss, check the hydraulic system or final drive motor.
✔️ Hydraulic fluid: Ensure sufficient hydraulic fluid to prevent low hydraulic pressure to the final drive.
✔️ Hydraulic motor: Inspect the hydraulic motor for leaks and ensure its case drain line is clear, as restrictions reduce power.
✔️ Verify pressure: Use a gauge to check hydraulic pressure at the travel motor; low hydraulic pressure can stem from a weak charge pump or internal leaks in hydraulic components.
✔️ Swivel joint: Issues with the swivel joint can restrict flow to travel motors.
✔️ Avoid excessive load: Prevent operating under excessive load to protect drive motors and key components.
Managing overheating
An overheating excavator’s final drive indicates lubrication or friction problems.
✔️ Check gear oil level regularly: Insufficient lubrication is a primary cause; ensure enough gear oil.
✔️ Inspect oil quality: Change old, degraded, or contaminated oil that causes internal friction and excessive heat.
✔️ Look for resistance: Overheating can be caused by dragging worn brake discs or other worn out parts.
✔️ Cooling system: Ensure the main cooling system works correctly.
Dealing with contaminated oil
Discovering contaminated oil (water, dirt, or metal) is serious.
✔️ Drain and flush: Immediately drain and, if needed, flush the system.
✔️ Identify ingress point: Determine how contamination entered (faulty seal requiring replacing seals, loose plug, poor maintenance).
✔️ Refill: Refill with fresh, clean gear oil.
✔️ Address root cause: Fixing the source is crucial; otherwise, contamination will recur, leading to further damage and potentially a complete overhaul.
When to seek professional help and replacement
While regular maintenance and troubleshooting can resolve many final drive issues, there comes a point where professional intervention or even replacement becomes the most sensible and cost effective solution. Recognizing these situations can save you from bigger headaches and prevent a catastrophic failure.
Signs requiring expert intervention
If, despite your best troubleshooting efforts, your excavator continues to exhibit severe warning signs like persistent excessive noise, excessive vibration, significant oil leaks after replacing seals, or chronic slower movement, it’s time to call in the experts. These symptoms often point to complex internal damage, such as a broken motor shaft, severely worn out gears, or significant issues with hydraulic components that require specialized tools, diagnostic equipment, and expertise. Attempting further DIY repairs on such issues can lead to further damage and even pose safety risks.
Considering replacement
Sometimes, the extent of the damage makes repair impractical or excessively expensive. If the maintenance costs of a repair or complete overhaul approach the price of a new or remanufactured final drive, replacement often becomes the only solution. This is particularly true if multiple key components are severely damaged, like both the hydraulic motor and the gear set, or if there’s extensive casing damage.
Investing in a new final drive ensures optimal performance and offers a fresh start with full warranty, providing a long-term, cost effective solution. At Track-Motor, we offer high-quality final drive solutions with competitive pricing and emphasize timely replacement to minimize downtime and avoid cascading problems.
Conclusion
Ultimately, the longevity and reliability of your excavator heavily depend on the health of its final drive. By committing to regular maintenance and staying vigilant for warning signs like excessive noise, oil leaks, or slower movement, you can significantly prolong its lifespan.
Implementing the practical tips discussed, from maintaining optimal gear oil level to addressing contaminated oil promptly, ensures your machine runs efficiently. Proactive care prevents costly repairs, guarantees optimal performance, and keeps your excavator moving smoothly. Remember, a well-maintained excavator’s final drive is key to uninterrupted productivity and a smart investment in your equipment’s future.
Comments on this guide to Extend excavator lifespan: final drive maintenance and troubleshooting article are welcome.
Excavators
Construction Excavators
What to look for when buying an excavator
Excavator rock saws for building sites
++
Construction Trucks
Construction Trucks Posts
Exploring different types of trucks
Why you need to buy a truck for construction
Truck maintenance – ensure longevity

Building Articles
Contemporary Property Articles – architectural selection below:
Comments / photos for the Extend excavator lifespan: final drive maintenance and troubleshooting advice page welcome