Architectural Tips for a Stylish Siding Upgrade
27 January 2026
A siding refresh is one of the fastest ways to change your home’s curb appeal. The key is to match style with function, so the upgrade looks great and lasts. Use these practical design tips to guide your selections and plan a smooth project.

Start With Your Home’s Architecture
Let the house tell you what it wants. A Craftsman reads best with horizontal lap, generous belly bands, and chunky trim, while a Mid-century home favors clean lines and wider panels. When in doubt, sketch a quick elevation and mark where texture or shadow lines add interest.
Look at massing and proportion before color. Tall, narrow facades benefit from horizontal lines to visually widen them. Complex rooflines can handle more texture, and simple boxes shine with a single, calm cladding and crisp details.
Dial in Materials and Profiles
Choose a primary profile, then add one accent sparingly. Mixing three or more claddings can feel busy unless the façade is large and well-balanced. Keep transitions at inside corners or under trim to maintain a tidy look.
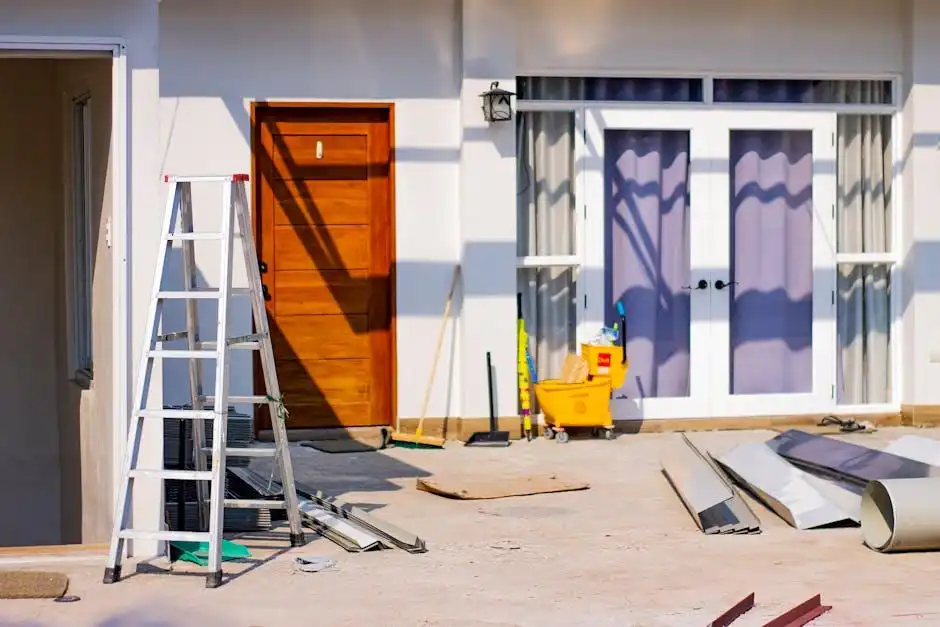
Think about installation realities as much as aesthetics: layout, starter strips, and factory edges affect the finished lines. For a polished result, partner with a team that handles layout and water management with care, and consider expert siding installation Oregon or in your location to align details with local best practices. That small planning step pays off in cleaner reveals and fewer callbacks.
Plan for Pacific Northwest moisture
In a wet climate, your wall assembly matters as much as the siding. A ventilated gap behind cladding helps drain and dry incidental water. Pair that with meticulous flashing at windows, doors, and roof-wall joints to keep liquid water out.
Don’t skip the small stuff. Kick-out flashing at roof edges protects against streaking and rot. Back-prime cut ends where the manufacturer allows, and seal fastener penetrations in trim to extend service life.
Use metal or PVC for ground-contact trim where mowers and sprinklers hit hardest. At decks and hose bibs, add small sheet-metal splash guards. Specify corrosion-resistant fasteners to avoid staining on light colors.
Budget Moves With Real ROI
If you’re debating where to spend, exterior upgrades are strong performers. Independent reporting has shown that manufactured stone on a portion of the façade tops the charts for payback, with fiber-cement and vinyl replacement close behind. That means you can improve style without ignoring the numbers.
Try this simple mix-and-match approach:
- Use fiber-cement or quality vinyl as the main field.
- Add a small area of stone or panel at the entry volume.
- Invest in trim that frames windows and corners cleanly.
- Reserve bold color for the front door and accents.
Typical returns for these projects remain high compared with many interior jobs when the design cleans up old transitions and fixes water issues at the same time. Balance aesthetic upgrades with durability to stretch every dollar.
Design Smart Around Openings and Trim
Windows and doors set the rhythm. Align lap breaks with head heights and carry trim dimensions across the façade for harmony. Wider casings can make small windows feel more substantial without changing the units.
Corners are style anchors. Mitered corners look sleek but demand perfect carpentry. Board corners or metal trims create crisp, repeatable lines and protect edges in windy rain. Choose one corner language and use it consistently.
Coordinate Schedules, Permits, and Inspections
Design choices work only if they meet code. Oregon updated its residential code in 2024, aligning with the 2021 national standard, so details like weather-resistive barriers, flashing, and fasteners must follow the newer requirements. Build your spec sheet to match those rules before you order materials.
Plan inspections into your timeline. Some jurisdictions will check shear nailing, WRB installation, and flashing before cladding goes up. A clear sequence reduces rework and helps your crew keep momentum when the weather shifts.
Phase Your Upgrade Like a Pro
If you can’t do everything at once, phase logically. Start where water risk is highest: windward walls, complex roof intersections, and any side with failing paint. Move to simpler elevations and soffits to finish the picture.
Industry reporting has emphasized that exterior improvements outperform discretionary interior remodels in terms of value when they boost curb appeal and protect the structure at the same time. Use that insight to prioritize the first phase and save specialty accents for round two.
Color reads darker outdoors than on a swatch. Test large sample boards on the sunniest and shadiest walls, and review them at morning, noon, and dusk. Add simple landscape lighting to graze textures and highlight entry features at night.
No matter the style, a thoughtful siding plan blends proportion, moisture control, and clean detailing. Keep your palette simple, align your reveals, and invest in flashing and trim where it counts. With a tight spec and the right crew, your home will look sharper and stay protected for years.
Comments on this guide to Architectural Tips for a Stylish Siding Upgrade article are welcome.
Windows
Windows Posts
Buying new window treatments for your home
5 creative uses of glass in architecture
7 reasons why you should replace your old glass windows
Architecture Designs
Home Designs
Building Articles
Comments / photos for the Architectural Tips for a Stylish Siding Upgrade page welcome